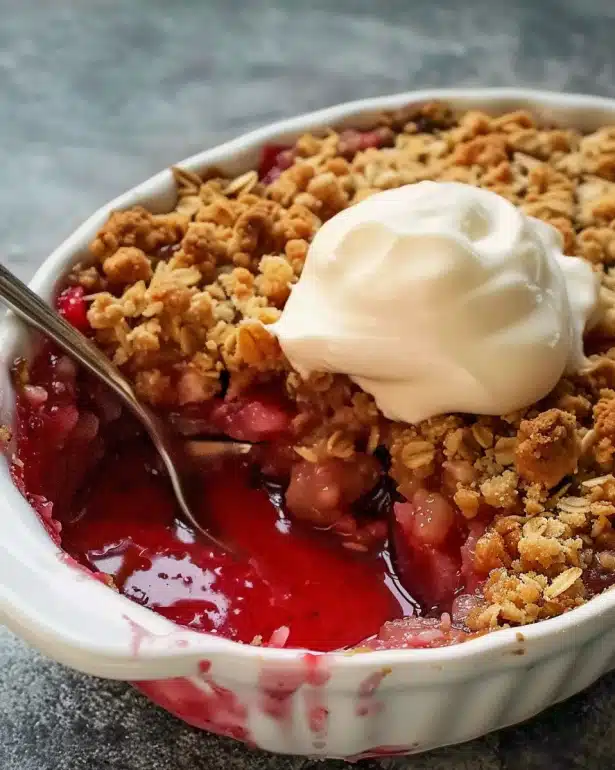
I absolutely adore this Toasted S’mores Bars Recipe because it brings all the nostalgic campfire vibes right into my kitchen with zero hassle. Every bite reminds me of cozy nights spent with friends around the fire, toasted marshmallows, melted chocolate, and that perfect crunchy graham crust all layered into one irresistible treat. It’s my go-to dessert when I want something sweet, fun, and universally loved without the fuss of roasting marshmallows outside.
Why You’ll Love This Toasted S’mores Bars Recipe
What I love most about this recipe is the incredible harmony of flavors—the crispy, buttery graham cracker base, the rich melted chocolate, and those soft, toasted marshmallows that top it off with a golden, slightly caramelized finish. The texture contrast keeps me coming back for more every time. It’s that perfect balance of gooey and crunchy that makes your taste buds sing.
Besides being a crowd-pleaser, this recipe is wonderfully straightforward to whip up. I appreciate how it doesn’t require fancy equipment or obscure ingredients, so it’s easy enough to make on a whim or for a last-minute gathering. Toasted S’mores Bars are my favorite during summer barbecues, casual movie nights, and even holiday dessert trays—they always steal the show!
Ingredients You’ll Need

This recipe uses simple, classic ingredients that come together for that quintessential s’mores taste. Each plays a role in building the layers of flavor and texture that make these bars irresistible from the first bite to the last.
- Graham cracker crumbs: provide the crunchy, slightly sweet base that holds everything together perfectly.
- Butter: adds richness to the crust and helps it set with a lovely crispness.
- Granulated sugar: balances the butter and cuts through the richness with a touch of sweetness.
- Chocolate chips or chunks: melt into luscious pockets of creamy chocolate goodness scattered on the bars.
- Mini marshmallows: create that iconic toasted marshmallow layer on top with a melty and slightly chewy finish.
- Vanilla extract: brightens the overall flavor, enhancing the chocolate and marshmallow notes.
- Salt: a small pinch to elevate all the sweet flavors and keep things balanced.
Directions
Step 1: Preheat your oven to 350°F (175°C). Prepare a square baking pan (I use an 8×8 inch one) by lining it with parchment paper, leaving some overhang for easy removal later.
Step 2: In a medium bowl, combine the graham cracker crumbs, melted butter, granulated sugar, and a pinch of salt. Stir until the crumbs are evenly coated and the mixture holds together when pressed.
Step 3: Press the graham cracker mixture firmly and evenly into the bottom of the pan to form the crust. Use the back of a spoon or a flat measuring cup to really pack it down tightly for the best crunch.
Step 4: Bake the crust for about 10 minutes, until it’s just starting to turn golden and smells toasty. This step helps set the crust so it won’t get soggy.
Step 5: Remove the crust from the oven and immediately sprinkle the chocolate chips evenly over the warm crust. The heat will start to melt the chocolate slightly, making it extra gooey.
Step 6: Evenly spread the mini marshmallows over the chocolate layer. Don’t be shy with the marshmallows; this is what makes the bars so delightfully melty and sweet!
Step 7: Return the pan to the oven and bake for another 8–10 minutes, or until the marshmallows are golden brown on top and nicely toasted. Keep a close eye—they can go from perfectly toasted to burned quickly.
Step 8: Let the bars cool completely in the pan on a wire rack. This helps the chocolate set again and ensures clean cuts when serving.
Step 9: Once cooled, use the parchment paper overhang to lift the entire block out, then cut into squares using a sharp knife. Feel free to warm a knife in hot water and wipe it dry between cuts for clean edges.
Servings and Timing
This recipe makes about 9 generous bars, perfect for sharing but also for sneaking a couple while no one’s looking. Prep time takes around 10 minutes, and the baking time is roughly 20 minutes total, including the two bake stages. Cooling time is about 30 minutes to an hour, although they’re tempting enough to nibble on even while slightly warm. So from start to finish, plan for around 1 hour and 15 minutes.
How to Serve This Toasted S’mores Bars Recipe

I love serving these bars slightly warm because the chocolate is still melty and the marshmallows have that gooey warmth that feels so comforting. They’re incredible on their own, but I also like to pair them with a scoop of vanilla ice cream or a drizzle of caramel sauce for an extra indulgent treat. The contrast between cold ice cream and warm s’mores bars is irresistible.
For parties or casual get-togethers, I like arranging the bars on a rustic wooden board with some fresh berries as a pop of color and tartness that balances the sweetness. A sprinkle of sea salt flakes on top after baking adds a gourmet touch too. If you want to dress them up for a special occasion, try a dusting of powdered sugar or a zigzag of melted chocolate on top.
When it comes to drinks, these bars pair perfectly with a rich cup of coffee or a creamy hot chocolate, especially on chilly evenings. If you’re celebrating with adults, a dessert wine like a late harvest Riesling or a creamy, nutty amaretto cocktail complements the toasted marshmallow and chocolate flavors wonderfully. They’re a delightful dessert for family dinners, summer picnics, holiday parties, or just a casual sweet snack any time.
Variations
I’m always experimenting with different twists on this recipe to keep it fresh and exciting. One of my favorite adjustments is swapping regular chocolate chips with peanut butter or white chocolate chips to add a different layer of flavor. You can even try mixing in chopped nuts like walnuts or pecans in the crust for extra crunch.
If you need a gluten-free version, I simply use gluten-free graham cracker crumbs which bake just as well and keep the classic taste intact. For a vegan approach, substitute the butter with coconut oil or a vegan butter alternative, make sure to pick dairy-free chocolate chips, and use vegan marshmallows. It’s surprisingly easy to make this recipe allergy-friendly and still delicious.
For a fun twist on the toasted top, I sometimes switch out the mini marshmallows for large ones cut in half or use marshmallow fluff spread on top and broiled briefly for a soft toasted effect. You can also experiment with cooking methods by using a kitchen torch to toast the marshmallows for more control over the browning and caramelization.
Storage and Reheating
Storing Leftovers
If you have leftovers, store the Toasted S’mores Bars in an airtight container at room temperature for up to 3 days. I find that keeping them out of the fridge is better to maintain their soft and chewy texture rather than having a hardened crust. Layer the bars with parchment paper in between to avoid sticking.
Freezing
These bars freeze beautifully! Wrap individual bars tightly in plastic wrap and place them in a freezer-safe container or bag. They can last up to 2 months in the freezer. When you’re ready to enjoy them, thaw at room temperature for about 30 minutes, and they’ll be almost as good as fresh.
Reheating
To bring back that freshly baked warmth, I like reheating the bars in a toaster oven or regular oven at 300°F for about 5-7 minutes. This revives the melted chocolate and softens the marshmallows nicely. Avoid microwaving as it tends to make the crust soggy and the texture less appealing.
FAQs
Can I use regular marshmallows instead of mini ones?
Absolutely! You can cut regular marshmallows into smaller pieces or halves so they cover the top more evenly. Just keep an eye on them while baking since larger pieces may take a bit longer to toast.
Is it possible to make this recipe dairy-free?
Yes, by using vegan butter substitutes and dairy-free chocolate chips, plus vegan marshmallows, you can make this recipe completely dairy-free while still keeping that delicious toasted s’mores flavor.
Can I add nuts or other mix-ins to the crust?
Definitely! Chopped nuts like walnuts, almonds, or pecans add a great crunch and extra flavor to the crust. Just mix them into the graham cracker crumb mixture before pressing it into the pan.
How do I prevent the marshmallows from burning?
Watch your bars closely during the final baking stage. Marshmallows toast quickly, so check them a minute or two before the time is up and take them out once they’re golden brown to your liking.
Can this recipe be made ahead for parties?
Yes, it’s perfect for making a day ahead. You can prepare and bake the bars, then store them at room temperature in an airtight container. They’ll stay fresh and tasty, saving you time on the day of your event.
Conclusion
I hope you get as much joy from making and eating this Toasted S’mores Bars Recipe as I do every single time. It’s a comforting, crowd-pleasing treat that feels like a little hug on a plate. Whether for family gatherings, casual snacks, or festive celebrations, these bars always bring smiles and satisfy that sweet tooth perfectly. Go ahead, give them a try—I promise they’ll become a new favorite in your recipe collection!