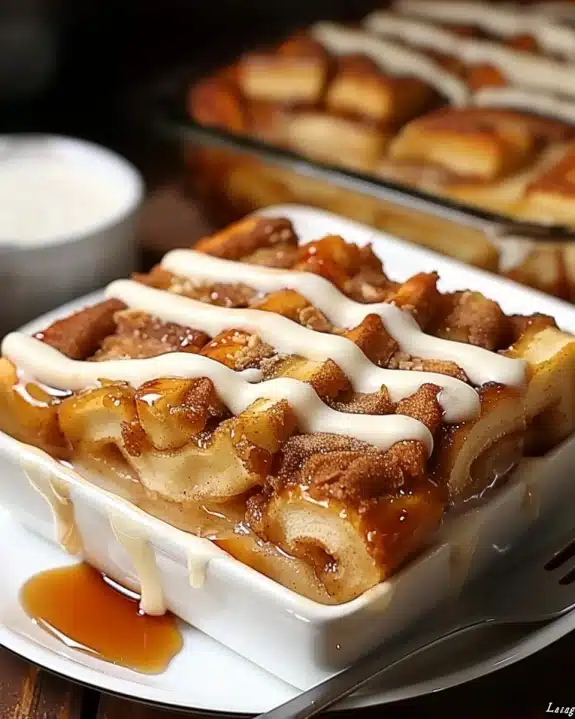
I absolutely love making this Peanut Butter Marshmallow Squares Recipe because it brings together two of my favorite flavors in one irresistibly chewy and sweet treat. The combination of creamy peanut butter and soft, fluffy marshmallows creates a snack that feels nostalgic yet fresh every time I make it. It’s one of those recipes that’s quick to whip up, perfect for busy afternoons or when I want to surprise friends with something homemade and delightful. Trust me, once you try it, these squares will become a go-to dessert or party treat in your kitchen too!
Why You’ll Love This Peanut Butter Marshmallow Squares Recipe
What really excites me about this recipe is the incredible flavor contrast. The rich, nutty peanut butter provides a wonderful depth that balances the sweet, airy marshmallows perfectly. I love how the texture comes out—chewy from the marshmallows yet a bit dense and satisfying from the peanut butter, creating this unique bite that just melts in your mouth.
Another reason I keep coming back to this Peanut Butter Marshmallow Squares Recipe is how incredibly simple it is to make. I’m talking about only a handful of ingredients and straightforward steps that even beginner cooks can handle without any stress. It’s perfect for last-minute gatherings or when you want a sweet treat but don’t want to spend hours in the kitchen. Plus, these squares are so versatile; whether for a holiday cookie tray, a quick snack, or a fun addition to a kid’s party, they always shine and vanish fast!
Ingredients You’ll Need

These ingredients are wonderfully simple but crucial for the perfect taste and texture in this classic Peanut Butter Marshmallow Squares Recipe. Each one brings something special to the table, making sure every bite is just right.
- Marshmallows: Use fresh, soft marshmallows for the best chewy texture and sweetness that melts smoothly.
- Peanut Butter: I recommend creamy peanut butter to keep the squares soft and give that rich, nutty flavor without being gritty.
- Butter: Unsalted butter adds richness and helps bind everything together for a tender bite.
- Vanilla Extract: Just a splash brightens the flavors and adds a lovely aromatic hint that complements the peanut butter.
- Optional Mix-Ins: Consider mini chocolate chips or chopped peanuts for extra texture and flavor variation.
Directions
Step 1: Grease or line a square baking pan with parchment paper to ensure your squares come out cleanly. Set this aside.
Step 2: In a large saucepan, melt the butter over low heat, stirring occasionally to prevent browning. Once melted, add the peanut butter and stir until completely smooth and combined.
Step 3: Remove the saucepan from heat and immediately add the marshmallows. Stir gently but quickly until the marshmallows have melted in the warm mixture, forming a gooey, sticky batter.
Step 4: Stir in the vanilla extract and any optional mix-ins you desire. This is your chance to make the squares truly your own!
Step 5: Pour the mixture into your prepared pan and press down lightly with a spatula or wax paper so the top is even and compacted.
Step 6: Let the squares cool completely at room temperature for at least an hour. Once set, slice into generous squares and get ready to enjoy.
Servings and Timing
This Peanut Butter Marshmallow Squares Recipe makes about 12 to 16 squares, depending on how large you cut them. Prep time is a quick 10 minutes, with no real cook time since everything melts together on low heat. You’ll need to allow about 60 minutes for cooling and setting, making the total time around 1 hour and 10 minutes. Because there’s no baking required, you get a delicious treat with minimal fuss and maximum flavor.
How to Serve This Peanut Butter Marshmallow Squares Recipe

I love serving these squares at room temperature because that’s when they hold their chewy texture best without being too sticky or melting away. They’re fantastic as is, but you can also dress them up a bit by sprinkling powdered sugar or a drizzle of melted chocolate right before serving for an extra special touch.
When it comes to pairing, I find these squares go beautifully with a cold glass of milk or a cup of black coffee to balance the sweetness. For parties, try plating them alongside fresh fruit or savory nuts to create a diverse snack board. I often bring these to family gatherings or casual get-togethers as a sweet conversation starter that’s easy for everyone to enjoy.
On holidays, I’ll sometimes cut the squares into festive shapes using cookie cutters before serving, which adds a playful vibe. You can keep portion sizes moderate since these are rich treats—small squares make perfect bite-sized indulgences while larger pieces work great for sharing over dessert.
Variations
If you want to mix things up, I’ve had great luck substituting crunchy peanut butter for a fun texture contrast, or using almond butter if you want a slightly different nutty flavor. For those with dietary restrictions, swapping regular marshmallows for vegan-friendly ones makes this recipe accessible without missing out on taste or stickiness.
To take this Peanut Butter Marshmallow Squares Recipe in a different flavor direction, try adding a sprinkle of sea salt on top or mixing in mini butterscotch chips for a caramel twist. You can even toast the marshmallows lightly with a kitchen torch before mixing for a subtle smoky note that’s surprisingly delicious.
While I usually make these on the stovetop, I’ve experimented with microwaving the butter and peanut butter for about a minute before adding marshmallows, which is perfect if you’re short on time. Just be careful not to overheat and burn the mixture.
Storage and Reheating
Storing Leftovers
I store leftover Peanut Butter Marshmallow Squares in an airtight container at room temperature, and I’ve found they stay fresh and chewy for up to 4 days. If you want to keep them softer, wrapping each square individually with plastic wrap before placing them in the container works wonders to keep out air.
Freezing
These squares freeze really well if you want to make a batch ahead of time. I like to cut them into portions first, wrap each square tightly in plastic wrap, then place them in a freezer-safe zip-top bag or container. They’ll keep perfectly for about 2 months. When you’re ready to enjoy, just thaw at room temperature for an hour or so.
Reheating
I don’t usually recommend reheating these squares because they’re best enjoyed fresh or at room temperature. However, if you prefer them warm, briefly microwave a single square for 10 to 15 seconds to soften it up, but watch carefully so it doesn’t get too gooey or melt completely. Avoid reheating in the oven as it can dry them out.
FAQs
Can I use natural peanut butter in this recipe?
You can use natural peanut butter, but keep in mind it tends to be more oily and less creamy, which may affect the texture of your squares. Stir well before measuring, and if the mixture seems too oily, adding a bit more marshmallows can help balance it out.
Are these squares gluten-free?
Yes, this Peanut Butter Marshmallow Squares Recipe is naturally gluten-free as long as you use gluten-free marshmallows and check your peanut butter label. It’s a great treat for those avoiding gluten without any extra swaps needed.
Can I add chocolate chips or other mix-ins?
Absolutely! Adding mini chocolate chips, chopped nuts, or even dried fruit can make these squares even more exciting. Just fold them in after melting the marshmallows so they distribute evenly without melting completely.
What’s the best way to cut these squares cleanly?
I recommend waiting until the squares are fully set and cool. Use a sharp knife dipped in warm water and wiped dry before slicing to create smooth, clean edges without squishing the squares.
How long do they stay fresh at room temperature?
Stored properly in an airtight container, these squares stay fresh and chewy for about 3 to 4 days at room temperature. For longer storage, freezing is your best bet!
Conclusion
I’m so excited for you to try this Peanut Butter Marshmallow Squares Recipe because it’s a wonderfully simple, comforting treat that’s perfect for anytime you want a quick sweet fix. Whether you’re an experienced baker or new to making desserts, this recipe welcomes you with open arms and delivers big on flavor and texture. I hope it becomes one of your favorites just like it is for me!