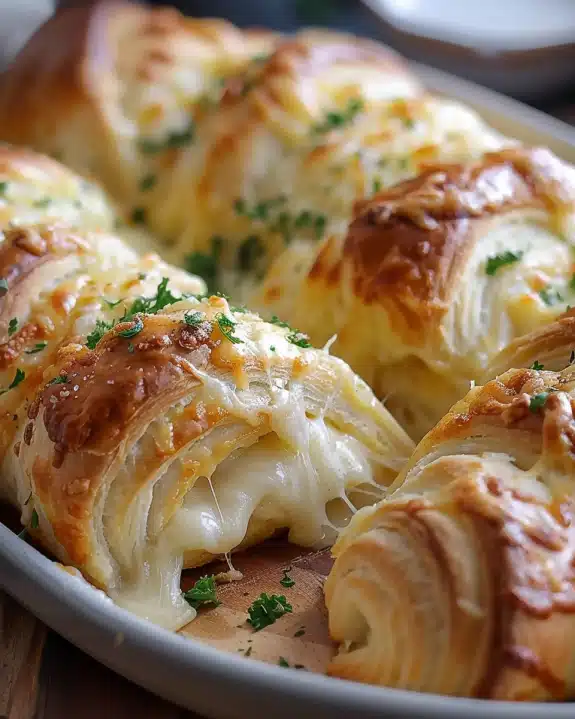
I absolutely love baking bread at home, and this Very Easy Challah Bread Recipe has become one of my absolute favorites. It’s a beautifully braided, golden loaf that’s soft on the inside with a slight, sweet crunch on the outside, making it just perfect for everything from simple sandwiches to festive dinners. I’ve found this recipe to be incredibly approachable, even if you’re new to bread baking, because it uses straightforward ingredients and simple steps that anyone can follow. Every time I make it, the house fills with this amazing aroma that gets everyone excited to gather around the table.
Why You’ll Love This Very Easy Challah Bread Recipe
What really excites me about this Very Easy Challah Bread Recipe is how wonderfully soft and slightly sweet the bread turns out, which feels like a warm hug in every bite. The subtle honey or sugar sweetness complements the tender crumb perfectly, making it deliciously addictive. I love how the braiding gives the bread an elegant look that’s surprisingly simple to achieve, which makes it a star at any gathering or even just for a cozy breakfast at home.
Aside from the flavor and texture, what makes this recipe stand out for me is how incredibly user-friendly it is. The steps are clear, and you don’t need any fancy equipment or advanced techniques to pull it off. Whether I’m baking for a holiday like Shabbat or just craving some fresh homemade bread for a weeknight dinner, this recipe fits the bill effortlessly. It’s a recipe I keep coming back to because it’s both comforting and impressive without any hassle.
Ingredients You’ll Need

These ingredients are simple staples that most people probably already have in their kitchens, and each one plays an essential role in delivering the perfect texture, flavor, and color of this bread.
- All-purpose flour: This provides the structure and chewiness that’s key to a classic challah crumb.
- Warm water: Activates the yeast while keeping the dough tender.
- Active dry yeast: The magic that makes your bread rise beautifully and develop those lovely air pockets.
- Honey or sugar: Adds sweetness and helps with browning of the crust.
- Eggs: Give the dough richness, tenderness, and a beautiful golden hue.
- Vegetable oil: Keeps the crumb soft and extends freshness.
- Salt: Balances the sweetness and enhances the overall flavor.
- Sesame or poppy seeds (optional): A nice touch for garnish and extra texture.
Directions
Step 1: Begin by activating your yeast. In a small bowl, mix warm water (not too hot) with the active dry yeast and a teaspoon of honey or sugar. Let this sit until it becomes frothy, about 5 to 10 minutes.
Step 2: In a large bowl, combine the flour and salt, creating a little well in the center. Add your eggs, vegetable oil, the remaining honey or sugar, and the activated yeast mixture.
Step 3: Mix everything together until a sticky dough forms. Then, turn the dough out onto a lightly floured surface and knead it for about 8 to 10 minutes until smooth and elastic, adding small amounts of flour if necessary but being careful to keep the dough soft.
Step 4: Place the dough into a greased bowl, cover with a clean kitchen towel or plastic wrap, and let it rise in a warm place until doubled in size, usually about 1 to 1.5 hours.
Step 5: Once risen, punch down the dough gently and divide it into three equal parts. Roll each into long ropes and braid them together, tucking the ends under for a neat look. Transfer this braid onto a parchment-lined baking sheet.
Step 6: Cover the braided dough again and allow it to rise for another 30 to 45 minutes until puffed.
Step 7: Preheat your oven to 350°F (175°C). Before baking, gently brush the loaf with a beaten egg to help develop that shiny, golden crust. Sprinkle sesame or poppy seeds on top if you like.
Step 8: Bake for about 25 to 30 minutes, checking towards the end to ensure it’s golden brown and sounds hollow when tapped. Let it cool on a wire rack before slicing.
Servings and Timing
This recipe makes one large loaf that comfortably serves 8 to 10 people, but depending on your needs, you can easily adjust the size. The active prep time is around 20 minutes, with kneading taking about 10 minutes. The bread requires two rising periods totaling about 1 hour and 45 minutes, plus 25 to 30 minutes of baking time. In total, plan for roughly 2.5 to 3 hours from start to finish, including cooling time to let the flavors settle and texture set beautifully.
How to Serve This Very Easy Challah Bread Recipe

I love serving this challah bread warm or at room temperature because it showcases that perfect softness and the slightly sweet flavor beautifully. It’s incredibly versatile in how you can enjoy it. For breakfast, it’s an absolute dream with just a slather of butter and some jam or honey. During family dinners or holidays, it pairs wonderfully as a side to richly seasoned dishes like roasted chicken or hearty stews.
For presentation, I often sprinkle a few extra sesame seeds on top right before baking to add visual interest and a bit of nuttiness. Slicing the loaf into thick pieces and arranging them in a bread basket or on a warm, linen-lined tray always impresses my guests. If you’re serving it at a gathering, pairing challah bread with dips like garlic hummus, whipped ricotta, or even a sharp cheese platter really elevates the meal.
When it comes to drinks, I’ve found this bread goes great with a light white wine like a Sauvignon Blanc or a dry Riesling. For non-alcoholic choices, a spiced chai tea or even a sparkling water with lemon feels refreshing alongside the slightly sweet and rich flavors of the bread. Overall, this bread fits beautifully into so many occasions, from casual get-togethers and festive dinners to simple weeknight meals where you want that little something special.
Variations
Over time, I’ve experimented quite a bit with this Very Easy Challah Bread Recipe to make it suit different tastes or dietary needs. One of my favorite tweaks is adding raisins or dried cranberries into the dough for a fruity note, which transforms the bread into a fun treat that’s perfect for brunch or a tea party.
If you’re looking for a vegan version, you can swap the eggs for a flaxseed or chia egg alternative and substitute the honey for maple syrup or agave nectar, which still gives the dough sweetness and moisture but keeps it plant-based. I also sometimes use whole wheat flour instead of all-purpose for a nuttier, earthier flavor, though I adjust the liquid slightly because whole wheat tends to absorb more water.
For a slightly different texture, I’ve tried shaping the dough into rolls or smaller braids and baking them individually, which is great for portion control or making a loaf that’s ready to go for sandwiches in lunchboxes. Whatever variation you try, this recipe is flexible enough to handle those changes without sacrificing the wonderful taste and soft crumb that make challah so special.
Storage and Reheating
Storing Leftovers
After enjoying freshly baked challah, I always store any leftovers in an airtight container or wrapped tightly in plastic wrap to keep it from drying out. It usually stays fresh for about 2 to 3 days at room temperature. If I want to keep it longer, I’ll store it in the fridge, but I prefer room temperature because refrigeration can sometimes make the bread a bit tough.
Freezing
This bread freezes really well, which is great if I bake a big loaf and don’t want any of it to go to waste. To freeze, I slice the cooled loaf, wrap the slices individually in plastic wrap, and then place them in a freezer-safe resealable bag. This way, I can thaw just what I need. Frozen challah keeps well for up to 3 months.
Reheating
To enjoy challah as fresh as possible after storing or freezing, I gently warm slices in a toaster oven or oven at 300°F for about 5 to 7 minutes. This helps restore that lovely soft inside and crisp crust. If you’re reheating a whole loaf, loosely cover it with foil to prevent over-browning. Avoid microwaving if you can because it can make the bread chewy or rubbery.
FAQs
Can I use instant yeast instead of active dry yeast?
Yes, you can use instant yeast. If you do, simply mix it directly with the flour rather than activating it in warm water first. It may also slightly reduce the rising time, so watch your dough to avoid over-proofing.
What can I do if my dough feels too sticky to knead?
If your dough is too sticky, dust your hands and work surface lightly with flour, but add it gradually. It’s important to keep the dough soft for tender challah, so avoid adding too much flour, which can make the bread dense.
How do I know when the challah is fully baked?
The challah should be golden brown all over and sound hollow when tapped on the bottom. An internal temperature of about 190°F (88°C) is also a good indicator if you use a thermometer.
Can I make this recipe gluten-free?
Gluten-free challah requires a special flour blend designed for bread baking and may include additional binders like xanthan gum. I recommend following a gluten-free challah-specific recipe, but you can experiment by substituting the flour with a high-quality gluten-free mix and adjusting liquids as needed.
Is it necessary to braid the dough?
Braiding challah is traditional and adds a lovely look, but it’s not necessary. You can shape the dough into a round or oval loaf if you prefer simplicity, though you may lose some of that iconic challah appearance.
Conclusion
Making this Very Easy Challah Bread Recipe has honestly become one of my favorite kitchen adventures because it blends simplicity with such delightful results. I love sharing this recipe with friends and family who want to try their hand at baking something special without stress. Trust me, once you try it, you’ll want to make it again and again—it’s the kind of bread that brings people together and fills your home with warmth, every single time.