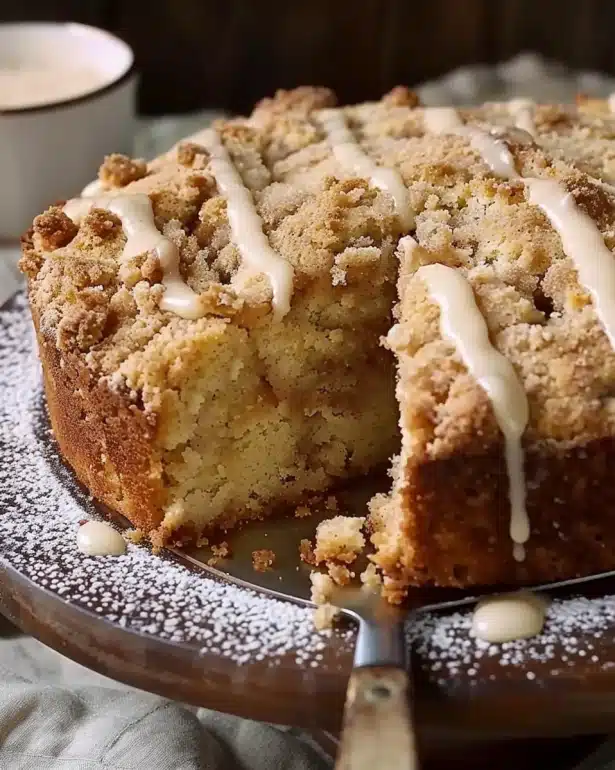
I absolutely adore sharing this Thick & Chewy Candy Bar Blondies Recipe with you because it’s one of those treats that transports me straight back to carefree afternoons and cozy gatherings. From the moment I bite into the dense, buttery base studded with melty candy bars, I’m hooked on the perfect marriage of chewy texture and intense sweetness. It’s like enjoying a candy bar turned into a luscious, indulgent dessert that’s easy enough for any day yet special enough to impress friends and family.
Why You’ll Love This Thick & Chewy Candy Bar Blondies Recipe
What makes this recipe shine in my book is the unbeatable flavor harmony. The rich, caramelized brown sugar blends seamlessly with bursts of gooey candy bars throughout, giving each bite a delightful surprise. I’ve always been a fan of dense desserts, and these blondies deliver that thick chewiness without feeling dry or overly heavy. The depth of flavor—from the vanilla and butter to the mix of chocolates and nougat from the candy bars—keeps me reaching for another piece.
Another reason I’m crazy about this recipe is how straightforward it is. Honestly, it feels like magic that something so decadent can come together with just a handful of pantry staples and chunks of your favorite candy bars thrown in. I love making these for so many occasions—whether it’s a casual weekend treat, a picnic snack, or a festive dessert at holiday gatherings. They stand out because they are way more fun and nostalgic than a regular brownie, yet just as easy to whip up and share.
Ingredients You’ll Need

The ingredients for this Thick & Chewy Candy Bar Blondies Recipe are simple, yet each plays a vital role in building that characteristic rich taste and chewy texture. Using quality components really makes all the difference, so don’t skimp on the candy bars or butter!
- Brown sugar: This gives the blondies their deep, caramel-like flavor and chewy consistency.
- All-purpose flour: The backbone for structure while keeping the crumb tender.
- Unsalted butter: Provides richness and moisture; melting it enhances chewiness.
- Eggs: Bind everything together and add a lovely tenderness.
- Vanilla extract: A little splash amps up the sweetness with warmth.
- Baking powder: Gives just a touch of lift without making the blondies cakey.
- Salt: Balances sweetness and enhances all the flavors.
- Assorted candy bars, chopped: The star ingredient—mix and match your favorites to add gooey pockets of chocolate, caramel, nuts, and nougat.
Directions
Step 1: Preheat your oven to 350°F (175°C). Line an 8×8-inch baking pan with parchment paper, making sure to leave some overhang for easy removal later.
Step 2: In a medium saucepan, melt the unsalted butter over low heat until completely liquefied. Remove from heat and stir in the brown sugar while the butter is still warm. This helps dissolve the sugar slightly, creating a glossy base.
Step 3: Let the butter and sugar mixture cool for about 5 minutes so it’s warm but not hot, then whisk in the eggs one at a time along with the vanilla extract. Make sure everything is well combined and silky smooth.
Step 4: In a separate bowl, sift together the all-purpose flour, baking powder, and salt. Gradually fold these dry ingredients into the wet mixture, mixing just until no flour streaks remain. Over-mixing can make blondies dense, so be gentle.
Step 5: Stir in your chopped candy bars with a spatula. I love using a mix like Snickers, Milky Way, and Reese’s, but anything gooey and chocolatey works amazing.
Step 6: Spread the batter evenly in the prepared pan, smoothing out the top. Bake in the preheated oven for 25 to 30 minutes. The edges will be set and golden, but the center should still look slightly fudgy—this is key for that thick and chewy texture.
Step 7: Remove from the oven and cool completely in the pan on a wire rack. Once cool, use the parchment overhang to lift the blondies out and cut into squares. Patience here really pays off for clean slices and ideal chewiness.
Servings and Timing
This recipe makes about 12 generous-sized blondie squares, perfect for sharing or enjoying throughout the week. The prep time is roughly 15 minutes, mostly spent melting butter and mixing. Bake time is 25 to 30 minutes, with an additional 30 minutes necessary for cooling to achieve the best texture. Overall, from start to finish, you’re looking at approximately 1 hour and 15 minutes.
How to Serve This Thick & Chewy Candy Bar Blondies Recipe

I love serving these blondies slightly warm so you can really taste the melty candy bars in their gooey glory. They’re perfect on their own but also incredible paired with a scoop of vanilla ice cream for an easy dessert upgrade. If you want to get a little fancy, dust a little powdered sugar or drizzle with melted chocolate for added visual appeal.
For gatherings, I often cut them into smaller bite-sized squares and arrange them on a beautiful platter garnished with fresh berries or edible flowers. They make such a festive treat for holiday parties or even casual weekend get-togethers. Because of their richness, a cup of strong coffee or a bold espresso really balances the sweet notes wonderfully.
These blondies also pair nicely with creamy hot chocolate or even a light glass of dessert wine for special occasions. I like to keep them at room temperature during serving but find everyone sneaks the warm pieces fresh from the oven first! Portions of about 2-inch squares satisfy without being overwhelming, making them a crowd-pleaser every single time.
Variations
One of my favorite things about this Thick & Chewy Candy Bar Blondies Recipe is how adaptable it is. You can easily swap out the candy bars to suit your cravings or pantry stash—from peanut butter cups to caramel-filled chocolates or even vegan-friendly candy bars if you want to make it dairy-free. I’ve also experimented with adding chopped nuts like walnuts or pecans for extra crunch, which adds a lovely texture contrast.
If you want a gluten-free twist, I recommend using a 1:1 gluten-free baking flour—this works surprisingly well because the recipe is dense and forgiving. For a vegan version, substitute the butter with coconut oil and use a flax egg (1 tablespoon ground flaxseed mixed with 3 tablespoons water) instead of eggs. The flavor will be slightly different but still incredibly satisfying.
Sometimes I like to mix in a teaspoon of cinnamon or espresso powder into the batter to deepen the flavor profile, giving it a subtle warmth or richness. For a different method, try baking the blondies in a muffin tin to create portable, individual treats perfect for lunchboxes or picnics.
Storage and Reheating
Storing Leftovers
I typically store leftover blondies in an airtight container at room temperature. They stay fresh and chewy for up to 4 days—just make sure the container is well sealed to keep moisture in. If your kitchen is warm, storing them in the fridge can help, but allow them to come to room temperature before serving to restore that chewiness.
Freezing
These blondies freeze beautifully, making them a great make-ahead treat. I wrap the pan-cut blondie squares tightly in plastic wrap, then place them in a freezer-safe container or zip bag to prevent freezer burn. They keep well for up to 3 months. When you’re ready to enjoy, thaw overnight in the fridge and bring to room temp or warm briefly in the microwave.
Reheating
The best way to reheat your Thick & Chewy Candy Bar Blondies Recipe leftovers is to microwave them for 10-15 seconds on a plate to bring out that fresh-baked warmth. I avoid prolonged reheating or baking again, as that can dry them out. A quick warm-up restores that soft, gooey center that makes this recipe so irresistible.
FAQs
Can I use different types of candy bars in this recipe?
Absolutely! One of the joys of this recipe is how customizable it is. You can mix and match any candy bars you love—chocolates with caramel, peanut butter, nuts, or nougat all work well and add delightful texture and variety.
Do I need to refrigerate these blondies?
Not necessarily. If you plan to eat them within a few days, storing at room temperature in an airtight container works perfectly. However, if your kitchen is on the warm side or you want to keep them longer, refrigeration is fine but brings best results if you let them come back to room temperature before eating.
Can I make these blondies gluten-free?
Yes! I recommend using a quality 1:1 gluten-free baking flour blend that includes xanthan gum. The recipe is forgiving and turns out wonderfully chewy even with gluten-free substitutions.
How do I achieve the perfect chewy texture?
The key is not to overbake. The edges should be set and golden, but the center still slightly soft and fudgy when you take them out of the oven. Letting them cool completely before cutting also helps the blondies firm up perfectly without becoming dry.
Can I prepare the batter ahead of time?
Definitely. You can prepare the batter and keep it refrigerated for up to 24 hours before baking. Just give it a gentle stir before spreading in the pan. This can actually enhance the flavor and texture as the ingredients meld together.
Conclusion
I hope you’re as excited as I am to try this Thick & Chewy Candy Bar Blondies Recipe. It’s truly one of those desserts that’s easy, delicious, and endlessly adaptable. Whether you’re treating yourself or sharing with loved ones, these blondies bring all the comforting, decadent vibes of a candy bar in a wonderfully chewy bite. Trust me, once you make them, they’ll become a go-to favorite in your baking arsenal!