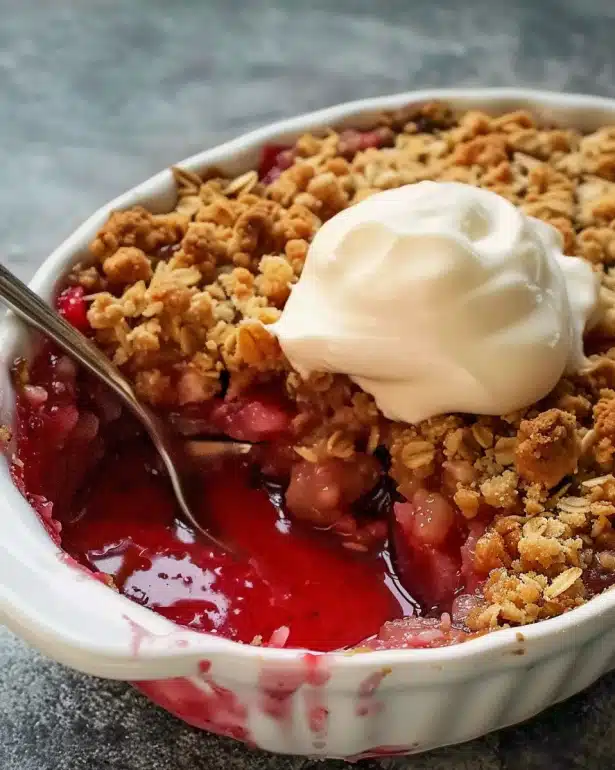
I absolutely love sharing this Thick & Chewy Candy Bar Blondies Recipe because it combines the best of both worlds: that rich, buttery blondie base and the indulgent surprise of candy bars baked right in. These blondies have that perfect chewiness that keeps me coming back for just one more bite, and the burst of candy creates little pockets of gooey sweetness that feels like a special treat every time. Whether I’m making them for a casual snack or a festive get-together, they never fail to impress and satisfy my sweet tooth in the most comforting way.
Why You’ll Love This Thick & Chewy Candy Bar Blondies Recipe
What excites me most about this recipe is the flavor profile that hits all the right notes. The blondie base is delectably buttery with a touch of vanilla, and when those chunks of candy bars melt into the batter, it’s like an explosion of textures and flavors — a bit crunchy, a bit soft, and fully luscious. Each bite is a delightful mix of caramel, chocolate, and nougat that feels both nostalgic and totally indulgent. I love how the candy bars don’t just sit on top but become part of the blondies, creating a chewy, satisfying treat.
Another thing I appreciate is how straightforward this recipe is to prepare. I’m always on the lookout for desserts that are simple enough to whip up on a weekday evening but still impressive enough for weekend entertaining. This recipe fits that bill perfectly. The ingredients are pantry staples, and mixing everything together is quick and easy — no fancy techniques required, which makes it friendly for bakers of all skill levels. Plus, this Thick & Chewy Candy Bar Blondies Recipe is incredibly versatile, perfect for sharing at family dinners, casual parties, or even gifting to friends during the holidays.
Ingredients You’ll Need

Each ingredient in this recipe plays a crucial role in achieving that irresistible texture and flavor. I love how simple ingredients come together to create something so spectacular — from the rich butter to the mix of candy bars that lend surprising depths of taste and texture.
- Unsalted butter: This adds richness and a tender crumb to the blondies, so be sure not to skip it.
- Brown sugar: I prefer light brown sugar for a subtle molasses flavor and that moist, chewy texture.
- Eggs: They bind everything and add structure to the blondies without making them cakey.
- Vanilla extract: Just a splash infuses the batter with warm, inviting aroma and depth of flavor.
- All-purpose flour: The foundation that provides chewiness while keeping the blondies tender.
- Baking powder: This little bit of lift is essential for the right texture—firm, but not too dense.
- Salt: A pinch enhances all the sweet flavors and balances the candy bars.
- Chopped candy bars: I like to use a mix for variety—think Snickers, Reese’s, or Milky Way—to add melted caramel, peanut butter, and chocolate swirls inside.
Directions
Step 1: Preheat your oven to 350°F (175°C) and grease or line an 8×8-inch baking pan with parchment paper. This step ensures your blondies come out cleanly without sticking to the pan.
Step 2: In a medium saucepan, melt the unsalted butter over low heat. Once melted, remove from heat and stir in the brown sugar until fully combined and slightly glossy. I find this step helps create that decadent chewiness linked to browned butter flavors.
Step 3: Beat in the eggs one at a time, making sure each is well incorporated before adding the next. Then mix in the vanilla extract for that irresistible fragrance.
Step 4: In a separate bowl, whisk together the all-purpose flour, baking powder, and salt. This ensures even distribution of the leavening and avoids clumps in your batter.
Step 5: Gradually add the dry ingredients to the wet mixture, folding gently until just combined. Overmixing here can toughen the blondies, so I like to keep it light and tender.
Step 6: Fold in the chopped candy bars, distributing them evenly. I love seeing those colorful bits interspersed in the batter—they promise bursts of gooey, melty sweetness.
Step 7: Pour the batter into your prepared pan and spread it out evenly. Bake for 25-30 minutes, or until the edges are golden and a toothpick inserted into the center comes out with a few moist crumbs but no raw batter.
Step 8: Allow the blondies to cool completely in the pan on a wire rack before cutting. This resting time helps them set perfectly and makes cutting cleaner and easier.
Servings and Timing
This Thick & Chewy Candy Bar Blondies Recipe makes about 16 squares, perfect for sharing with a crowd or enjoying over several days. Prep time is around 10 minutes since the mixing is straightforward, and baking takes about 25 to 30 minutes. Cooling time is essential, so I always plan on giving these blondies at least 30 minutes to cool before slicing to keep their shape and amazing texture intact. Total time from start to finish is roughly 1 hour, making it a fantastic quick project for a sweet craving.
How to Serve This Thick & Chewy Candy Bar Blondies Recipe

I often serve these blondies warm or at room temperature, depending on the occasion. When I want to impress guests, I like to plate a warm blondie topped with a scoop of vanilla ice cream and a drizzle of caramel sauce for that perfect combination of warm and cold, creamy and chewy. For casual occasions, serving them at room temperature in generous squares works beautifully and lets the candy bar chunks shine.
To make presentation pop, I sometimes sprinkle a little sea salt on top right after baking, which balances the sweetness deliciously and adds a pleasing crunch. For parties and get-togethers, I arrange them on a pretty platter or tiered dessert stand, sometimes garnishing with a few whole nuts or chocolate chips as a hint of what’s inside.
As for drinks, these blondies pair wonderfully with a rich, dark coffee or a creamy latte for a cozy afternoon treat. If you’re looking for something a bit different, I’ve found that a glass of cold milk or even a dessert-style wine like a late harvest Riesling complements the caramel and chocolate notes perfectly. These are versatile treats that shine at family dinners, potlucks, and holiday celebrations alike.
Variations
One of my favorite things about this Thick & Chewy Candy Bar Blondies Recipe is how flexible it is. If you want to switch things up, you can swap out the candy bars for nuts, dried fruit, or even white chocolate chunks for a slightly different taste and texture adventure. I personally love experimenting with salted caramel chips or butterscotch for a richer twist.
If you’re looking for dietary modifications, I’ve had good success making these blondies gluten-free by substituting all-purpose flour with a gluten-free blend that includes xanthan gum for structure. For vegan options, replacing the butter with coconut oil or vegan margarine and using flax eggs works surprisingly well, though the texture shifts slightly to be a bit more cake-like.
For those who want a deeper flavor or crisper edges, baking the blondies in a cast-iron skillet added a wonderful rustic touch. Watching the edges caramelize while the center stays dense and chewy gave me a new appreciation for this recipe’s versatility. Feel free to adjust the baking time accordingly if you try this method!
Storage and Reheating
Storing Leftovers
Leftover blondies keep beautifully stored in an airtight container at room temperature for up to 4 days. I like keeping mine in a single layer with parchment paper between layers if stacking, to maintain their chewy texture and avoid any sticking together. This way, each blondie stays fresh and moist without drying out.
Freezing
You can definitely freeze these blondies if you want to save some for later. I recommend cutting them into individual squares first, wrapping each one tightly in plastic wrap or foil, then placing them in a freezer-safe ziplock bag or container. They freeze well for up to 3 months. When you’re ready to enjoy, just thaw at room temperature or warm gently in the microwave.
Reheating
To bring the blondies back to their just-baked glory, I suggest warming each piece in the microwave for about 10-15 seconds. This softens the candy bars and restores some of that melty magic. Avoid reheating for too long or at high temperatures, which can dry out the blondies. If reheating multiple pieces at once, warming them in the oven at 300°F for a few minutes wrapped in foil works well to keep moisture intact.
FAQs
Can I use different candy bars in this recipe?
Absolutely! One of the best parts of this Thick & Chewy Candy Bar Blondies Recipe is its flexibility. Feel free to mix and match candy bars like Snickers, Milky Way, Reese’s, or even your favorite nutty or caramel-filled bars. Just chop them into small pieces so they distribute evenly throughout the batter.
How do I know when the blondies are done baking?
The edges should be golden brown and set, while the center remains moist but not too wet. A toothpick inserted in the middle should come out with a few moist crumbs but no raw batter. Remember that slight underbaking is okay since they continue to set as they cool, helping keep that chewy texture.
Can I substitute the butter for oil?
While oil can be used in some blondie recipes, I highly recommend sticking to unsalted butter for this one. The butter imparts richness, flavor, and the unique chewy texture that makes these blondies special. If you must substitute, use a mild-flavored oil like vegetable or canola, but expect a softer texture.
Is it important to chill the blondies before cutting?
It’s best to let the blondies cool completely in the pan before cutting. This resting time helps them set and makes slicing easier with cleaner edges. You don’t have to refrigerate them first unless your kitchen is very warm; room temperature cooling is sufficient.
Can I double this recipe and bake it in a larger pan?
Yes, you can double the ingredients and bake in a 9×13-inch pan. Just keep an eye on the baking time, as it may need an extra 5-10 minutes. Start checking for doneness at the original baking time to avoid overbaking. Adjust your cooling and cutting time accordingly.
Conclusion
I hope you’re as excited as I am to try this Thick & Chewy Candy Bar Blondies Recipe for yourself. It’s seriously one of my ultimate go-to desserts when I want something quick, indulgent, and utterly delicious. These blondies bring together the cozy flavors of home baking with the fun surprise of candy bars baked right into every chewy square. Don’t hesitate to make them your own, share with loved ones, and savor every delightful bite!